
New Series: Cake Decorating Tips and Tricks

I'm starting a new series on my blog - Cake Decorating Tricks and Tips. Cake decorating and working with fondant can be extremely overwhelming - not to mention expensive. I've learned a lot through experience, especially when things went wrong and I had to come up with a way to make it work. This series won't be about specific decorating ideas like my other posts, but rather inexpensive and easier alternatives to different aspects of cake decorating.
Today's inaugural post for the series is an inexpensive alternative to a fondant tool. Next month, I have a birthday cake coming up that requires a special tool. I don't want to say yet what the cake is, it is a surprise! But, I need long thin strings of fondant, and tons of them. I would prefer for them to be all even in size, that would be hard to do by hand. You can buy some clay tools (as long as you have never used them for clay) and use those. Most of them are pretty expensive. I found a tool online that creates various shaped strings of fondant, but it was $60!
I've purchased a lot of tools over the past year for fondant and cake decorating, but I couldn't see spending that much on this particular one. I'm sure there are people who use it over and over, but I don't think I would use it often enough. I do my cakes more for the hobby of it, rather than really trying to make money off of them. So, I don't think I need to spend that much on the tool. Suddenly, though, I started remembering some of the Play-Doh tools I used to play with growing up. I remembered many tools that essentially did the same thing as what I was wanting this tool to do! Which brings us to today's tip - using Play-Doh tools to work with fondant.

I was at the store the other day and decided to look around in the toy section and see what Play-Doh tools there were. The Play-Doh kit I found (shown below) was only $5!! It comes with two sliding plates that helps you create a variety of fondant strings and shapes.

I started playing around with it to test and see how well it worked. The fondant is a little more stiff than Play-Doh, so it isn't a perfect fit. But, it gets the job done for a fraction of the cost. I did find it started to get stuck in cracks and crevices. I quickly realized it was important to grease the inside of the Play-Doh tool with shortening. This keeps the tool slick enough that the fondant will easily come out.
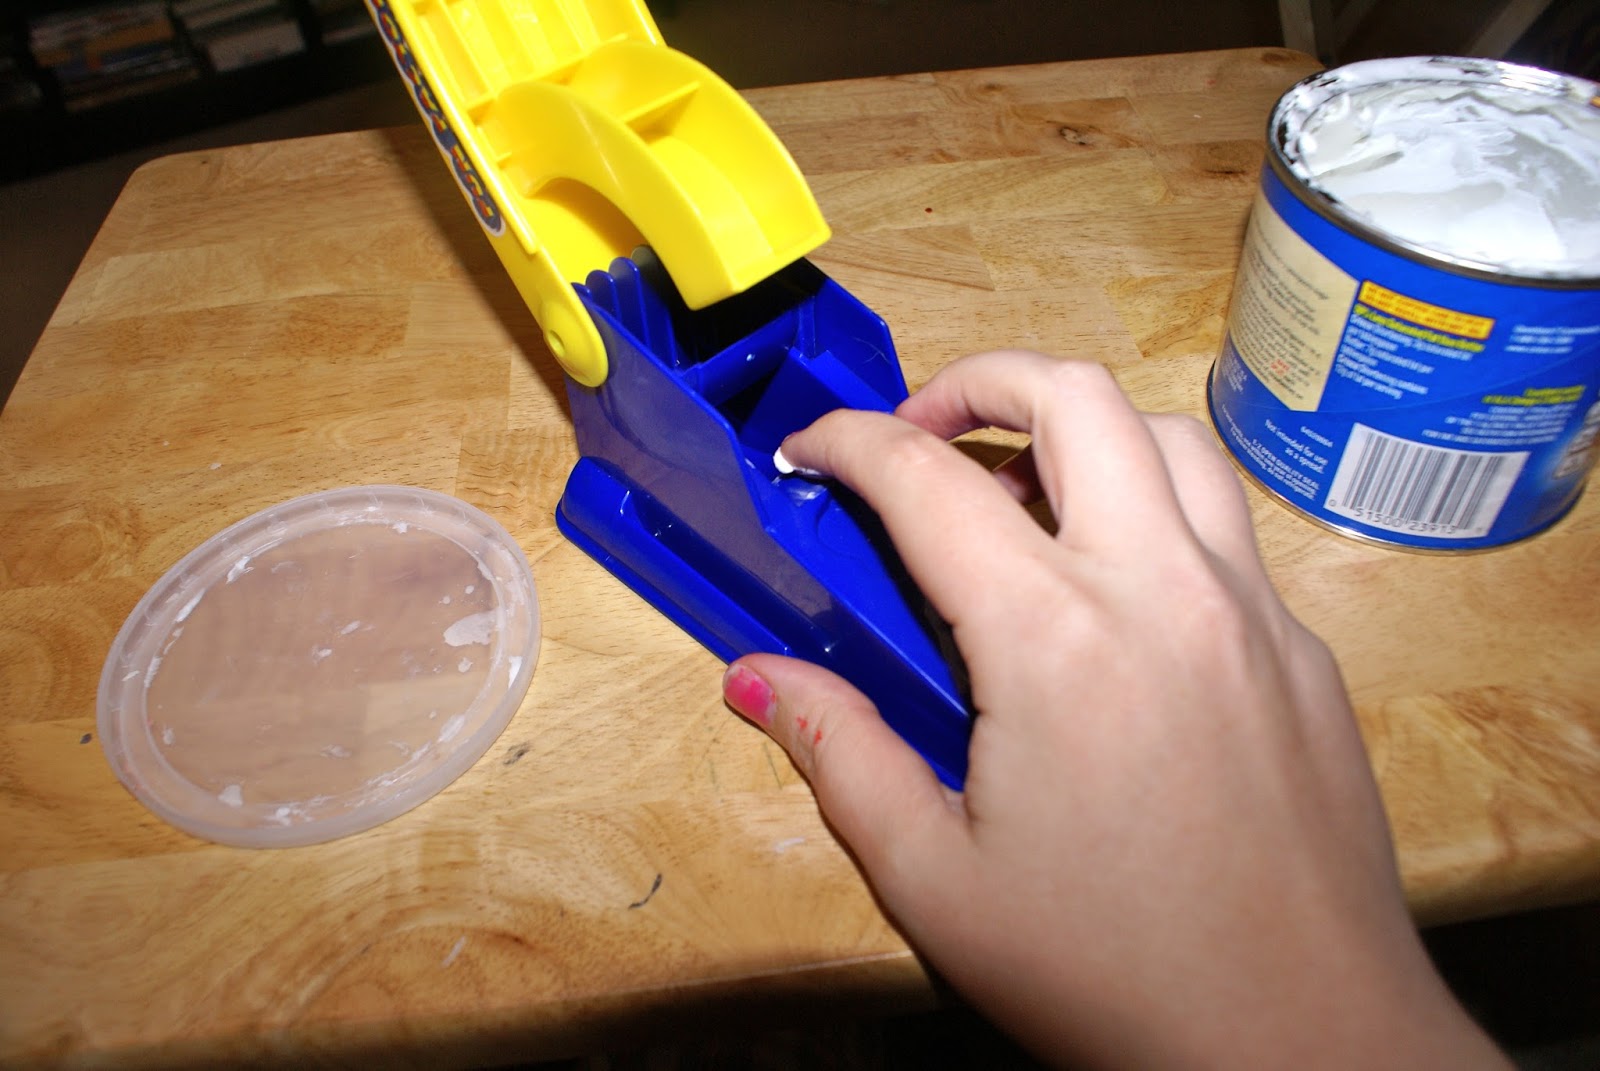
The tool is also really easy to use, just put the fondant in and then push down on the yellow lever. I found that pushing down too hard makes the fondant start going into cracks and crevices worse. It is best to use a steady and consistent pressure to push the fondant through the tool. It is also best to knead the fondant and make sure it isn't too stiff.

Here's some pics of the various type strings that can be created using only one of the tools. There are thin and thick ropes, square bars, long thin rectangles - just to name a few! I'm particularly excited about the thin ropes tool. It will be great for the cake I'm working on, plus so many other ideas. It could even be used for a horse mane, hair on a fondant character, etc.


The kit even comes with a tool to help you cut the fondant pieces off the tool, and clean the fondant out of the tool. I also kept some tooth picks handy to get fondant out of the cracks and crevices.

One thing to definitely bring up would be to only use this tool for fondant if you haven't ever used it for Play-Doh. If you have kids that love Play-Doh, you may have to hide the tool! Haha! As long as it hasn't previously been used for anything else, it would be considered food safe.
Hope you enjoyed this tip! Unless you are going to be needing to make strings of fondant a lot, I think that this Play-Doh tool gets the job done and with minimal expense. Check back soon for the next installment of this series. Follow my blog, or follow me on social media to keep up with my latest projects and posts.

